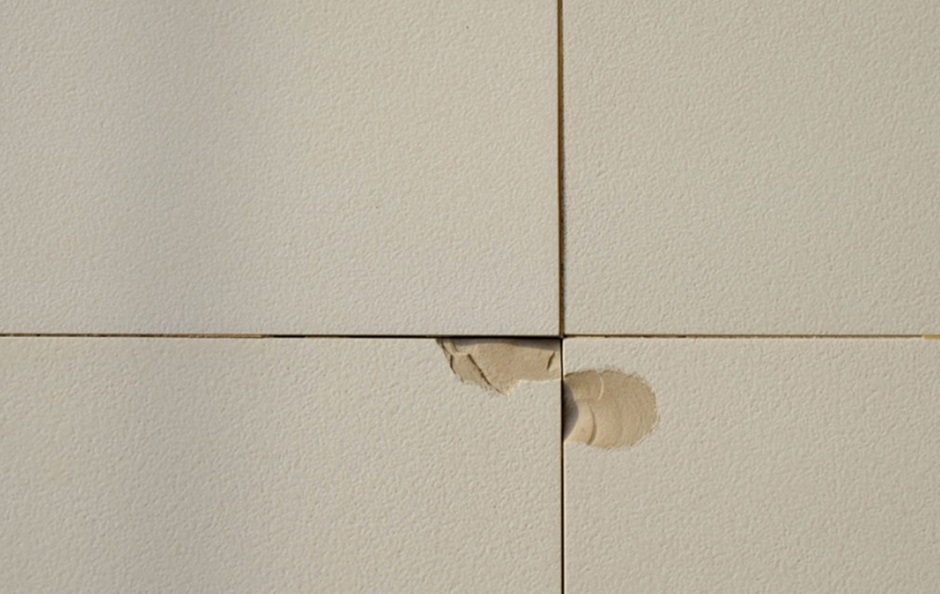
Tiles are a popular form of flooring because they’re both long-lasting and attractive. However, because tiles are hard and brittle, they can easily crack or chip, leaving unsightly damage to your floor that ruins its pristine appearance. Fortunately, repairing chipped tiles is a simple job that you can do yourself with only a few tools and a little bit of DIY knowledge.
This blog post will give you nine detailed steps that will guide you to repair chipped tiles in no time! So, if you have a chipped tile that needs fixing, read on.
Step 1: Gather Your Tools and Materials
Before you begin to repair chipped tiles, gather all the tools and materials you’ll need. These include a chisel, a hammer, a tile cutter, some tile adhesive, a putty knife, some grout, and a sealer. Ensure that all your tools are in good condition and that you have the correct type of adhesive and grout for your tiles. Having all your materials ready before you start will make the repair process much smoother and more efficient.
Step 2: Clean the Area
Before you start repairing, ensure the area around the chipped tile is clean and free from debris. Use a vacuum cleaner or a broom to sweep the tile and the surrounding floor area. Then, wipe the tile with a damp cloth to remove any dirt or dust. It will ensure that the adhesive and grout can adhere properly to the tile and create a strong bond.
Step 3: Remove the Chipped Tile
Using a chisel and a hammer, gently tap the chisel under the chipped tile to loosen it. Be careful not to damage the surrounding tiles. Then, use the chisel to pry the tile up. If the tile is only chipped and not completely broken, try to remove it in one piece. If the tile is already broken into several pieces, remove them one by one.
Step 4: Prepare the New Tile
The fourth step to repair chipped tiles is to buy and prepare your new tiles. If you don’t have a spare tile that matches the colour and style of your existing tiles, you’ll need to purchase one. Once you have the new tile, measure it up against the old tile to ensure that it fits perfectly. Then, use a tile cutter to cut the tile to the correct size and shape if necessary. Make sure that the new tile is clean and free from any debris.
Step 5: Apply Tile Adhesive
Using a putty knife, apply a thin layer of tile adhesive to the back of the new tile. Make sure that the adhesive is evenly spread and covers the entire back of the tile. Then, carefully place the new tile into the space where the old tile was removed. Press down firmly on the tile to ensure it’s level and flush with the surrounding tiles. Use a spirit level to double-check.
Step 6: Wait for the Adhesive to Set
Wait for the adhesive to dry and set, according to the manufacturer’s instructions. It usually takes around 24 hours. Do not walk on the tile or use the area until the adhesive is fully cured.
Step 7: Apply Grout
The next step to repair chipped tiles is to apply grout. Once the adhesive has been set, use a putty knife to apply grout to the gap between the new and surrounding tiles. Make sure that the grout is evenly spread and fills the gap. Use a damp cloth to wipe away any excess grout from the surface of the tile. Allow the grout to dry for around 24 hours.
Step 8: Seal the Grout
Once the grout is completely dry, apply a layer of sealer to protect it from damage and staining. Use a small brush or a roller to apply the sealer to the grout, making sure that it’s evenly spread. Allow the sealer to dry completely before using the area.
Step 9: Clean the Tile
After taking the time to carefully patch and fill the damaged area, you want to ensure that your efforts come through in the finished product. That’s where the final step comes in cleaning the tile. While it may seem like a minor step, wiping away any remaining dust or debris can make all the difference in achieving a flawless repair job. With a damp cloth in hand, gently wipe away any imperfections and enjoy the satisfaction of a job well done.
Conclusion
Hence, there you have nine easy steps to help you repair chipped tiles quickly and efficiently. Remember to take your time and follow the steps such as gathering the tool, cleaning the area, removing the chipped tiles, preparing the new tile, applying the adhesive, and applying and sealing the grout, to ensure the best possible outcome. With a little bit of DIY knowledge and some basic tools, you can easily fix your chipped tiles and restore your floor to its former glory. So, the next time you encounter a chipped tile, don’t panic – just follow these steps, and you’ll have it fixed in no time!

