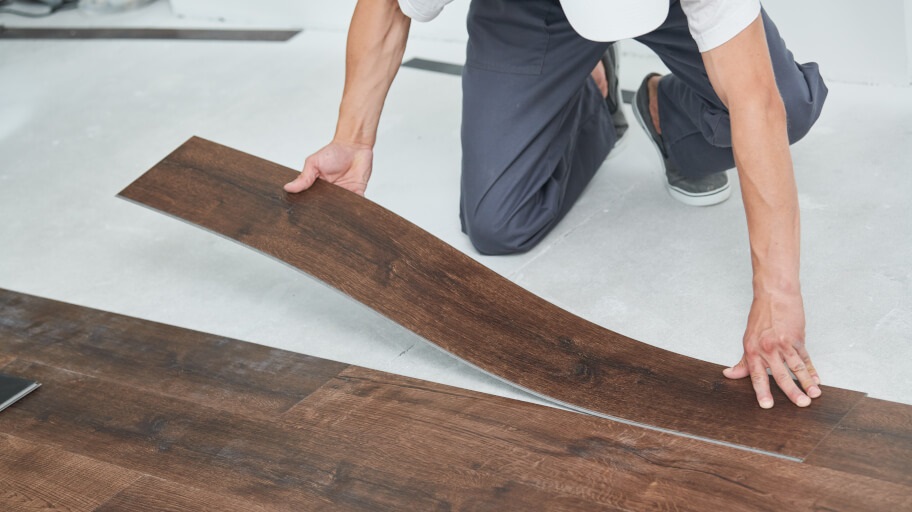
Installing vinyl flooring rolls is a project that many homeowners choose to undertake themselves due to its simplicity and quick results. This step-by-step guide will walk you through the process of installing vinyl flooring, ensuring a smooth and successful installation in your home.
Tools and Materials Needed
Before you begin, ensure you have the following tools and materials:
- Vinyl flooring rolls
- Utility knife
- Tape measure
- Straightedge or carpenter’s square
- Adhesive (if not using self-adhesive vinyl)
- Roller
- Floor primer (optional)
Preparation: The Key to Success
Clear the Area
Remove all furniture and obstacles from the room. It’s essential to work with a clear, accessible floor.
Prepare the Subfloor
- Cleaning: Ensure the subfloor is free of debris, dirt, and dust. The surface should be smooth, clean, and dry.
- Repairs: Fill any holes or cracks in the subfloor to prevent them from affecting the vinyl’s appearance.
- Priming: For concrete floors, consider applying a primer to ensure an optimal adhesive bond (check manufacturer’s recommendations).
Measuring and Cutting the Vinyl
Take Accurate Measurements
Measure the room carefully to determine how much vinyl you will need. Add a few inches to each dimension to allow for excess that can be trimmed later.
Cut the Vinyl
Roll out the vinyl on a clean, flat surface. Mark the dimensions you measured on the vinyl’s backing, and use a straightedge and utility knife to cut the material. It’s often easier to cut vinyl face down to avoid slipping.
Installing the Vinyl Flooring
Position the Vinyl
Carefully move the cut vinyl into the room. Lay it down and position it precisely, ensuring it covers the entire floor area with excess around the edges.
Trim Excess Material
Once the vinyl is properly positioned, trim the excess material around the edges. Press the vinyl against the base of the wall and carefully cut along the edge with a utility knife, ensuring a snug fit.
Secure the Flooring
- Self-Adhesive Vinyl: If using self-adhesive vinyl, peel off the backing to reveal the adhesive and press the vinyl down firmly onto the subfloor, starting from the centre and working your way outwards.
- Non-Adhesive Vinyl: For non-adhesive vinyl, apply flooring adhesive as per the manufacturer’s instructions. Use a notched trowel to spread the adhesive evenly. Lay the vinyl onto the adhesive and use a floor roller to press it firmly, ensuring good adhesion and removing any air bubbles.
Finishing Touchs
Once the vinyl is laid and trimmed:
- Seal the Edges: Use silicone caulk to seal the edges where the vinyl meets the walls. This prevents moisture from getting underneath the flooring.
- Reinstall Trim and Moulding: Replace any baseboards, mouldings, or transitions you removed before installation.
Maintenance and Care
Proper Care for Longevity
- Regular Cleaning: Sweep or vacuum regularly and clean spills promptly to maintain the appearance of your new vinyl flooring.
- Avoid Sharp Objects: Be cautious with sharp objects and furniture legs that can gouge or tear the vinyl.
Installing vinyl flooring rolls can immensely transform the look of your space with a bit of planning and careful execution. By following these detailed steps, even those new to DIY home improvements can achieve a professional-looking finish. Enjoy the new look of your durable, stylish vinyl flooring!

